
语音识别初实现——傅立叶变换、MFCC、HMM
读取和绘制音频数据
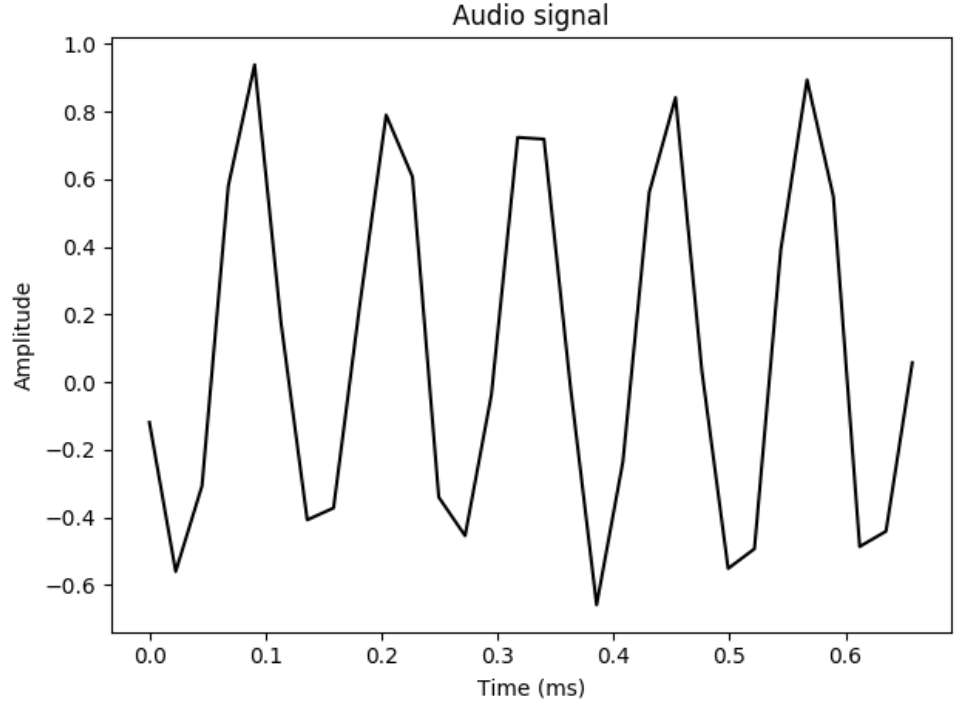
读取音频文件并可视化展现
音频文件是实际音频信哈的数字化形式,实际的音频信号是复杂的连续波形。为了将其保存成数字化形式,需要对音频信号进行采样并将其转换成数字。语音通常以44100 Hz的频率进行采样,这就意味着每秒钟信号被分解成44100份,然后这些抽样值被保存。
代码实现:
1 | import numpy as np |
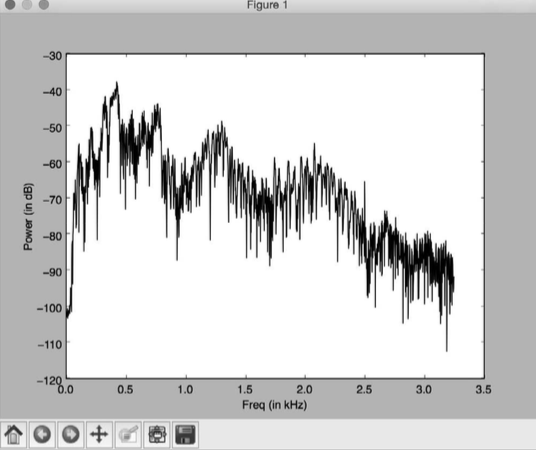
将音频信号转化为频域
音频信号是不同频率、幅度和相位的正弦波的复杂混合。正弦波也称作正弦曲线。音频信号的频率内容中隐藏了很多信息。事实上,一个音频信号的性质由其频率内容决定。世界上的语音和音乐都是基于这个事实的。
//Todo 傅立叶变换
1 | import numpy as np |
提取频域特征
将信号转换为频域之后,还需要将其转换成有用的形式。梅尔频率倒谱系数(Mel Frequency Cepstrum Coefficient,MFCC)可以解决这个问题。MFCC首先计算信号的功率谱,然后用滤波器组和离散余弦变换的组合来提取特征。
//Todo 梅尔频率倒谱系数
1 | import numpy as np |
创建一个隐马尔可夫模型
本例将用到隐马尔科夫模型(Hidden Markov Models,HMMs)来做语音识别。隐马尔科夫模型非常擅长建立时间序列数据模型。因为一个音频信号同时也是一个时间序列信号,因此隐马尔科夫模型也同样适用于音频信号的处理。假定输出是通过隐藏状态生成的,我们的目标是找到这些隐藏状态,以便对信号建模。
// Todo 隐马尔科夫模型
创建一个语音识别器
我们需要为每一类构建一个隐马尔科夫模型。如果想识别新的输入文件中的单词,需要对该文件运行所有的模型,并找出最佳分数的结果。下面将用到在前一节构建的隐马尔科夫类。
1 | import os |